Introduction: Glossaries—More Than Just Alphabet Soup
A glossary might seem like a simple collection of definitions, but when it comes to boosting your website’s SEO and enhancing user experience, it’s a game-changer. Think of a glossary as the unsung hero of your site—quietly working behind the scenes to drive traffic, improve engagement, and solidify your brand’s authority in your industry.
So, what exactly is a glossary? It’s a dedicated section on your website that defines key terms related to your content or industry. But don’t be mistaken—this isn’t just a decorative addition. A well-executed glossary serves as a crucial tool for improving both SEO and user experience (UX), making your content more accessible and your site more discoverable.
What a Glossary is Not
A glossary is not just a pretty collection of words neatly arranged in alphabetical order for the sake of filling up space. It’s not a decorative dictionary that sits on your site with meaningless terms, devoid of real value. Instead, a glossary should be a dynamic, purpose-driven resource that adds depth to your content, engages your users, and enhances your site’s SEO. If your glossary doesn’t serve to inform, connect, and enrich the user experience, it’s just window dressing—and that’s not what we’re aiming for.
Why a Glossary is Important: Beyond Definitions
Adding a glossary to your site does more than just pad your content—it strategically enhances your SEO and user experience in several ways.
Lean Content Creation: Quality Over Quantity
Glossaries enable you to create lean, focused content that’s packed with value. Each term in your glossary can serve as a standalone page, contributing to your site’s overall content volume without resorting to unnecessary duplication. This approach not only helps you target long-tail keywords but also ensures that each page has a clear, singular focus.
SEO Goldmine: Schema Markup and Rich Snippets
Glossary entries are prime real estate for implementing schema markup, which helps search engines understand the context of your content. This, in turn, increases the likelihood of your definitions appearing as rich snippets—those valuable pieces of information displayed at the top of search results. These snippets not only boost your visibility but also enhance your click-through rates (CTR).
Enhanced User Experience: Keeping Visitors Informed
A glossary makes your content more accessible by breaking down complex jargon and providing clear explanations right on your site. This keeps users engaged, reduces bounce rates, and encourages them to explore more of your content. And with tools that allow glossary terms to appear as popovers within your articles, users can get definitions without even leaving the page.
Essential Elements of an SEO-Friendly Glossary: Building Blocks of Success
To maximize the impact of your glossary, it’s essential to structure and optimize it correctly. Here’s what you need to consider:
Internal Linking: Weaving the Web of Connections
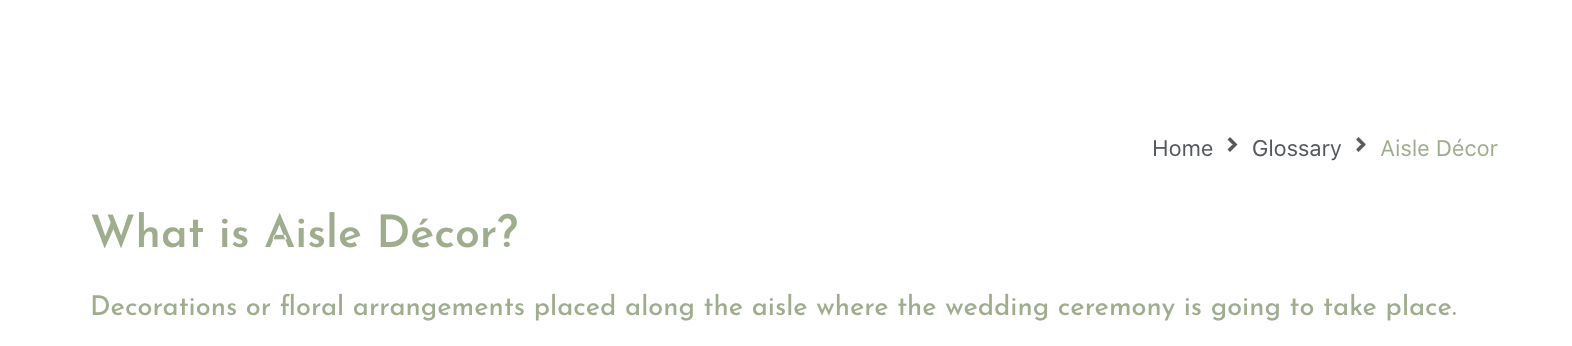
Internal links are the backbone of your site’s structure, and your glossary is the perfect place to strengthen these connections. By linking glossary terms to relevant articles, product pages, or other glossary entries, you create a seamless user experience and help search engines crawl your site more effectively. Below, you can see an example of internal linking. The user can easily search for other related terms, that will redirect him to another section of the site.

Schema Markup & Rich Snippets: The Magic Formula
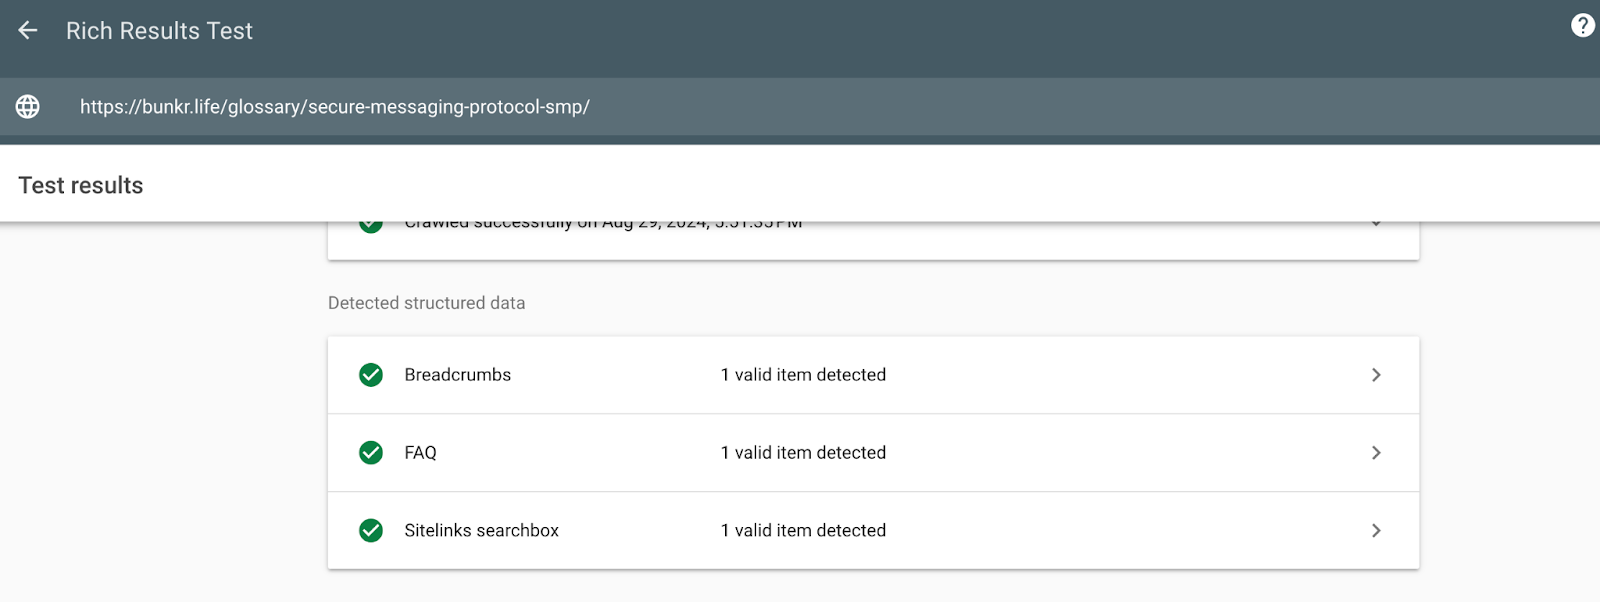
Enabling schema markup on your glossary terms is critical. It helps search engines understand and index your definitions, increasing the chances of appearing in rich snippets. This enhances your visibility in search results, driving more organic traffic to your site. Below, you can see an example. The Rich Results test indicates that we have various schema markups activated.
Avoiding Page Duplication: Keep It Clean
Each glossary entry should be unique and well-researched. Avoid duplicating content across different sections of your site, as this can lead to penalties from search engines. By carefully tagging and categorizing your terms, you ensure that your glossary remains a valuable resource for both users and search engines.
Tagging and Categorization: The Power of Organization
Tags and categories help organize your glossary, making it easier for users to navigate and for search engines to index your content. Consider creating categories for each letter of the alphabet and using tags to further refine your entries. This not only improves the user experience but also boosts your site’s SEO. Below, you can see that we have organized the glossary term under the tag (topic) ‘data privacy’ and also alphabetically.


Can Glossary Terms Be Used as Popovers? Absolutely!
One of the most effective ways to elevate user experience is by integrating glossary terms as popovers directly within your content. With this feature, users can hover over or click on a term to see its definition without ever leaving the page, ensuring a smooth and uninterrupted reading experience. This functionality is not just a convenience—it’s a powerful tool to keep users engaged and informed. At Marketer Stash, we offer this feature as part of our custom solutions, making it easy to implement popovers that blend seamlessly into your site’s design.
Technical Guide to Creating a Glossary: Let’s Get Our Hands Dirty
Now that you understand the importance of a glossary, let’s dive into the technical steps involved in creating one on your WordPress site using JetEngine, Elementor, and the SEO plugin Yoast (we can alternatively use Rankmath, but in this case, the Gutenberg block to be used should be the one of RankMath). Throughout this article, everything refers to Yoast SEO Plugin,
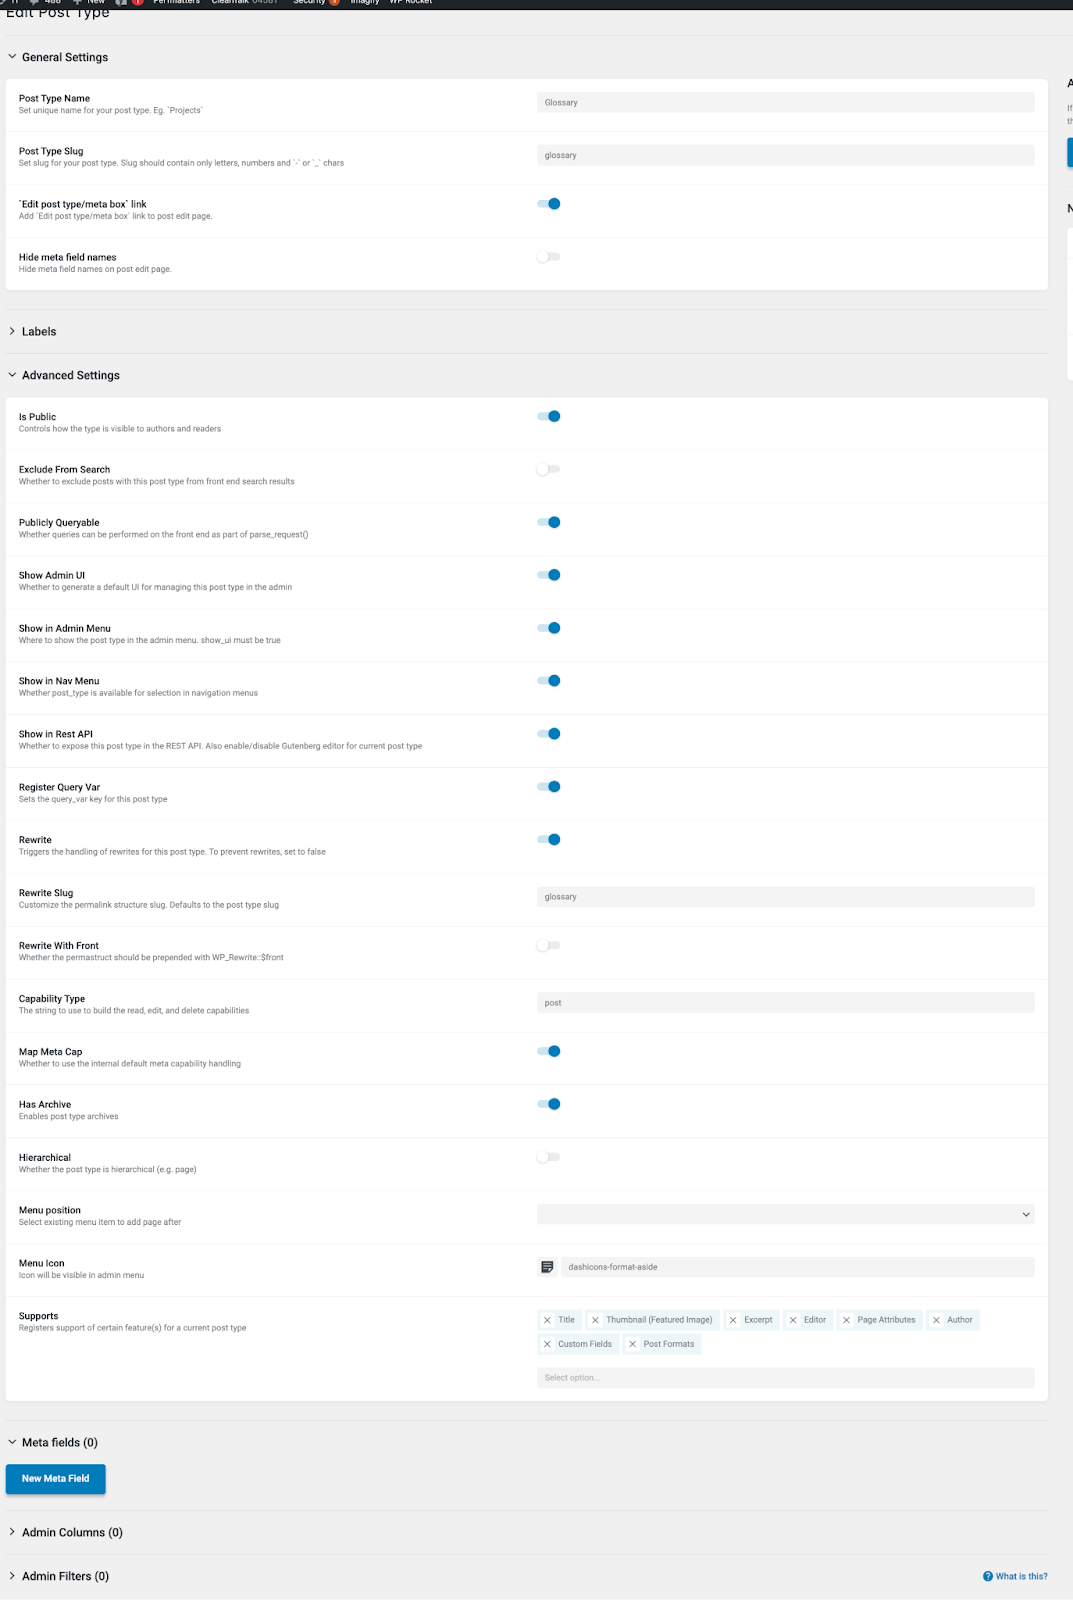
Step 1: Create a Custom Post Type for Glossary Using JetEngine
Start by installing the JetEngine plugin. Navigate to JetEngine > Post Types > Add New and create a new post type named “Glossary.” This will serve as the foundation for your glossary entries, allowing you to manage and organize your terms effectively.
Step 2: Set Up Two Taxonomies—Glossary Category and Glossary Tags
To keep your glossary organized, you’ll need to create two taxonomies:
- Glossary Category: Broad classifications like “Marketing Terms” or “Technical Terms.”
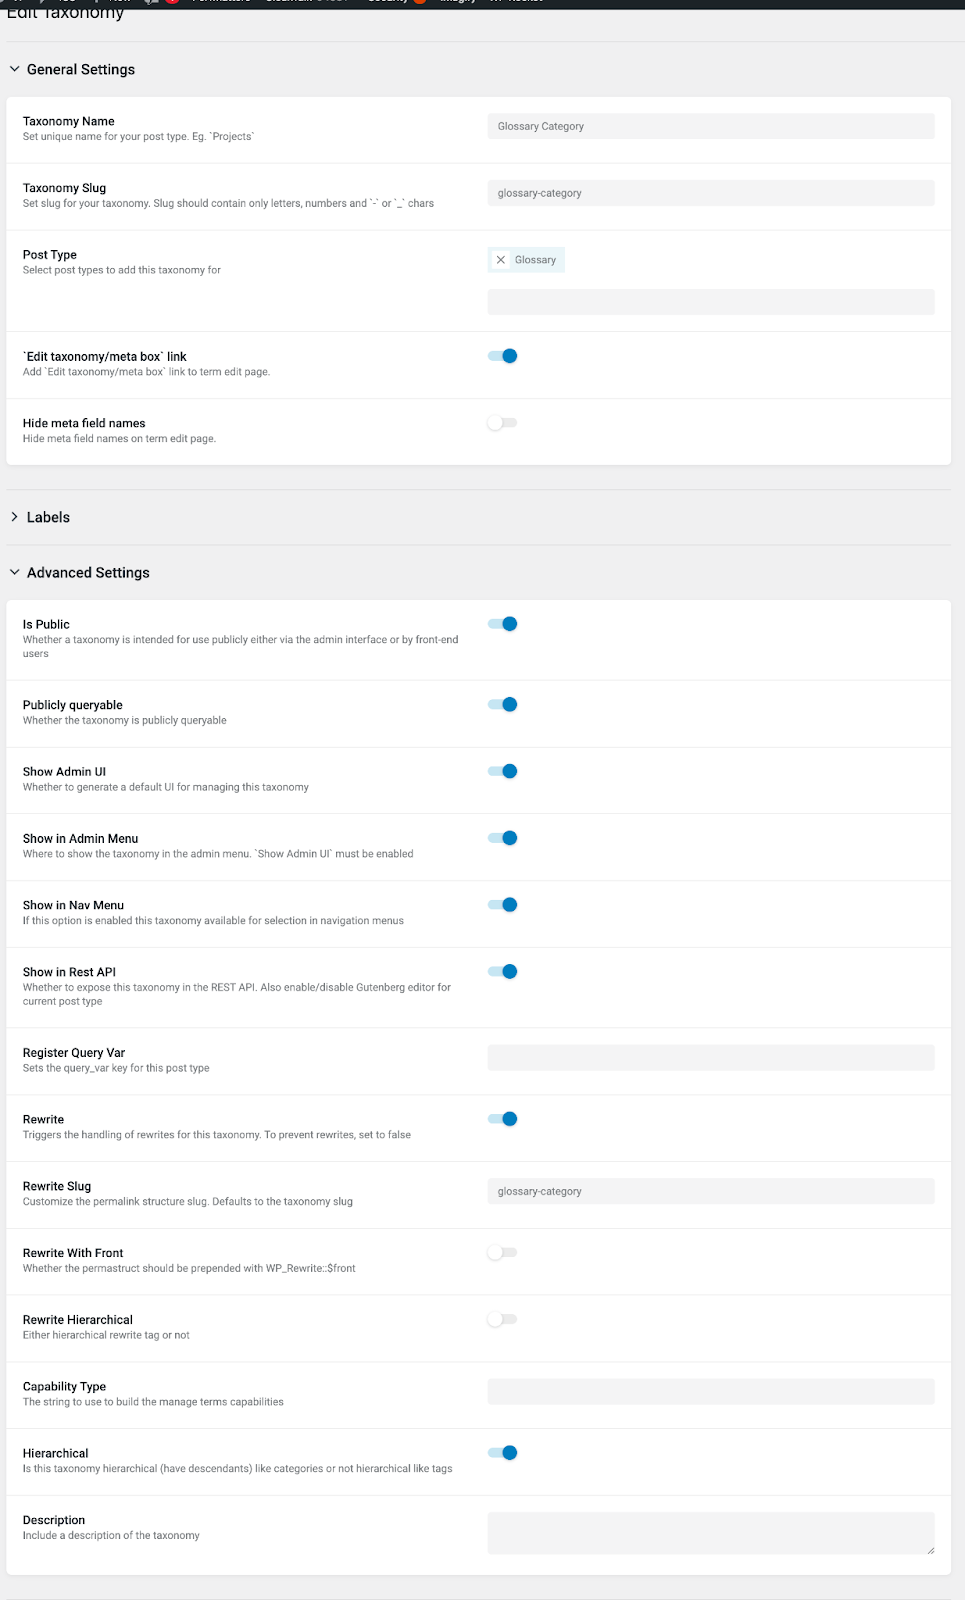
- Glossary Tags: More specific labels that help refine your glossary entries
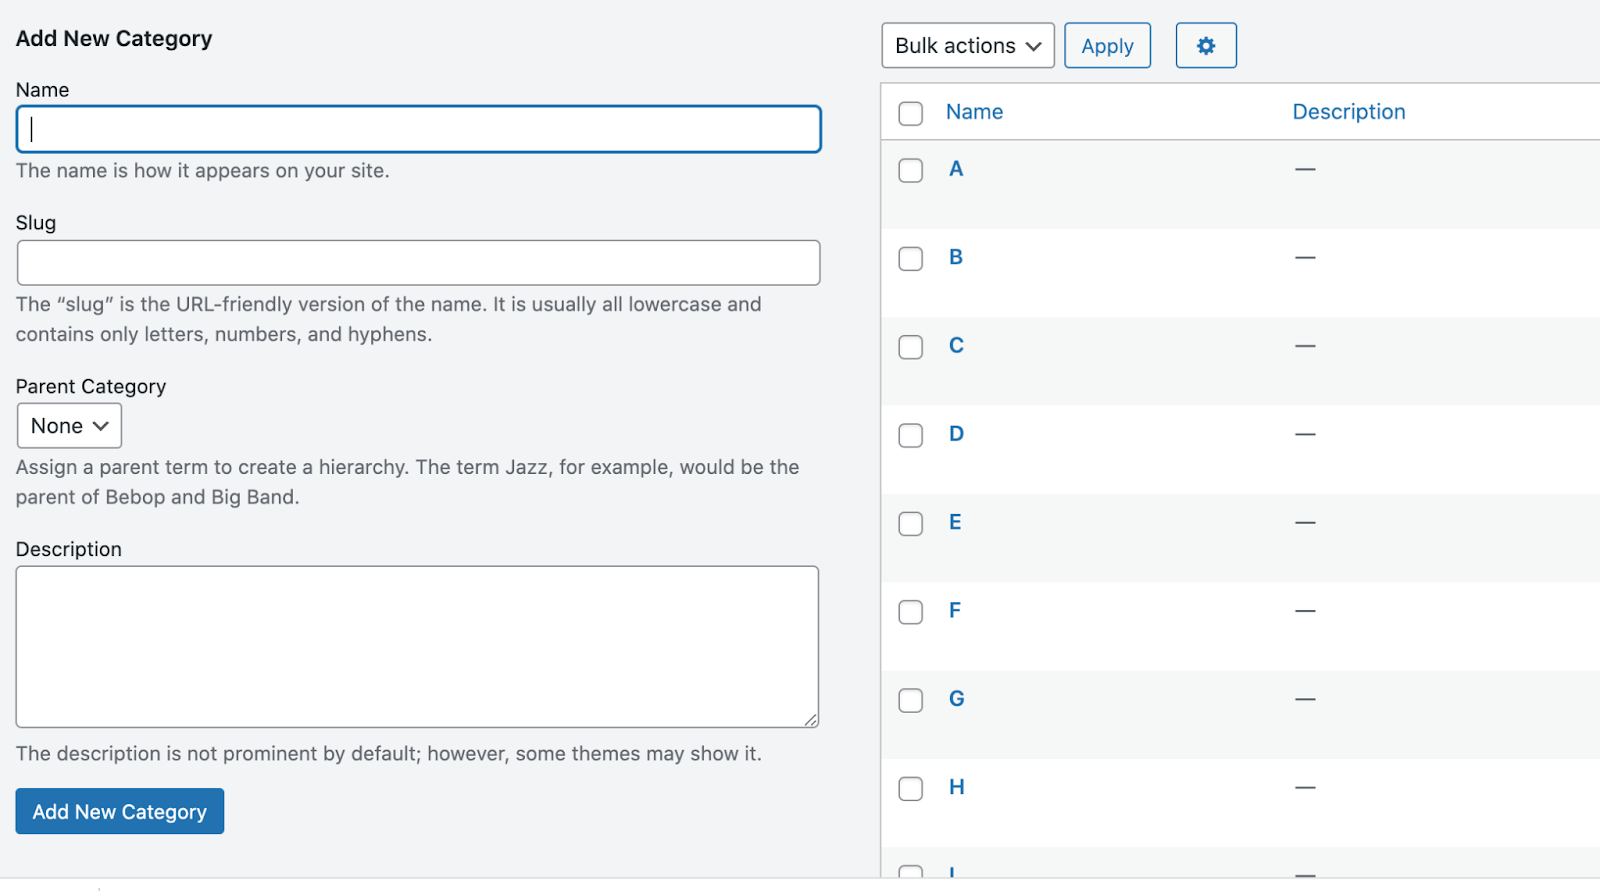
Step 3: Create Categories for Each Letter of the Alphabet
Alphabetical organization is crucial for user-friendliness. Create categories for each letter of the alphabet (A-Z) to help users quickly find the terms they’re looking for.
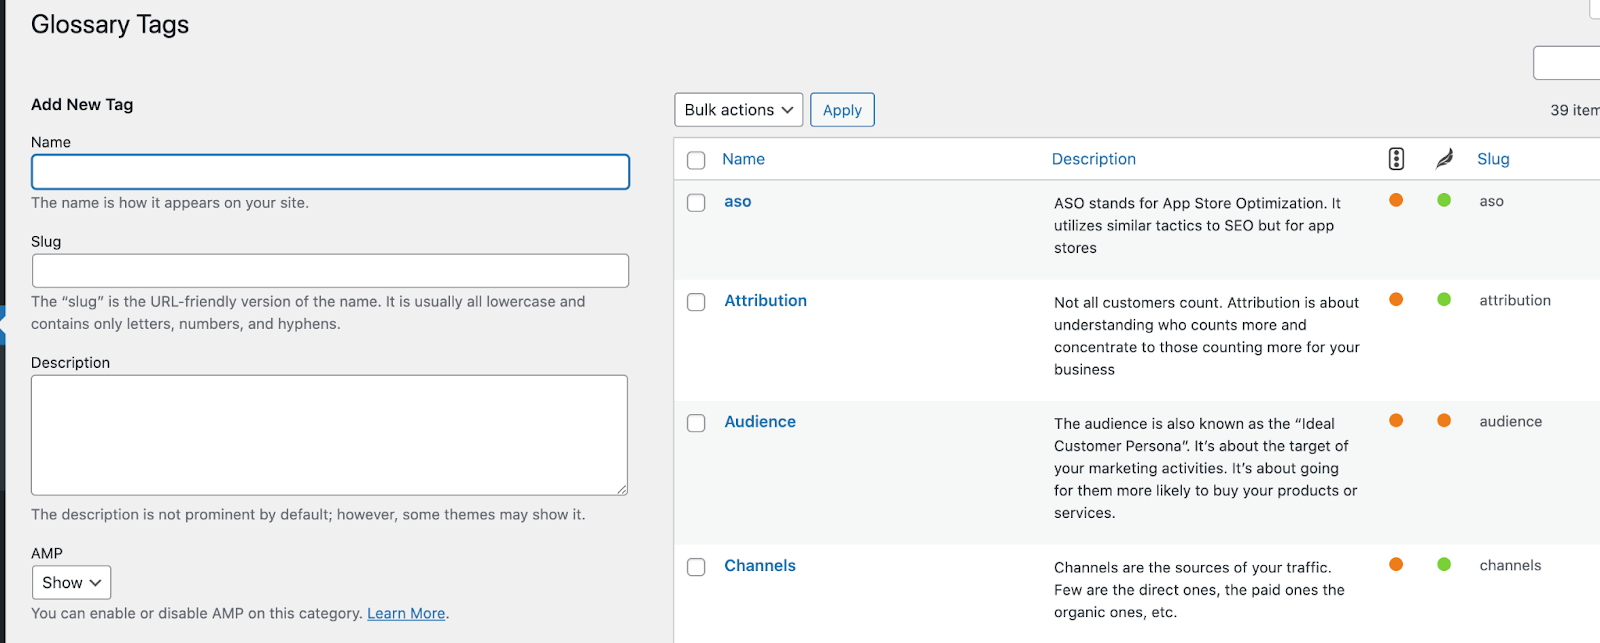
Step 4: Set Up Tags to Further Refine the Organization
Tags are vital for enhancing search functionality within your glossary. They act as secondary filters, allowing users to narrow down their searches even further.
Building the Glossary Pages: Putting It All Together
With the framework in place, it’s time to build the actual pages where your glossary will live.
Archive Template: The Gateway to Knowledge
Your glossary archive page is the main directory where users can browse all terms. Key elements include:
- H1 Title: Make sure your title is clear, descriptive, and optimized for SEO.
- Alphabet Filtering: Use Crocoblock Smart Filters to create a navigation bar with letters A-Z, allowing users to jump directly to terms.
- Archive Post Listings: Display each term with a brief excerpt to entice users to click through for more information.
- Pagination: Keep page load times fast by paginating your entries using the JetElements Pagination widget.
Single Post Template: A Deep Dive into Each Term
For each glossary entry, design a single post template that is both informative and engaging:
- H1 Titles: Use the term as the title, formatted for SEO.
- Tags: Display tags prominently to aid in navigation.

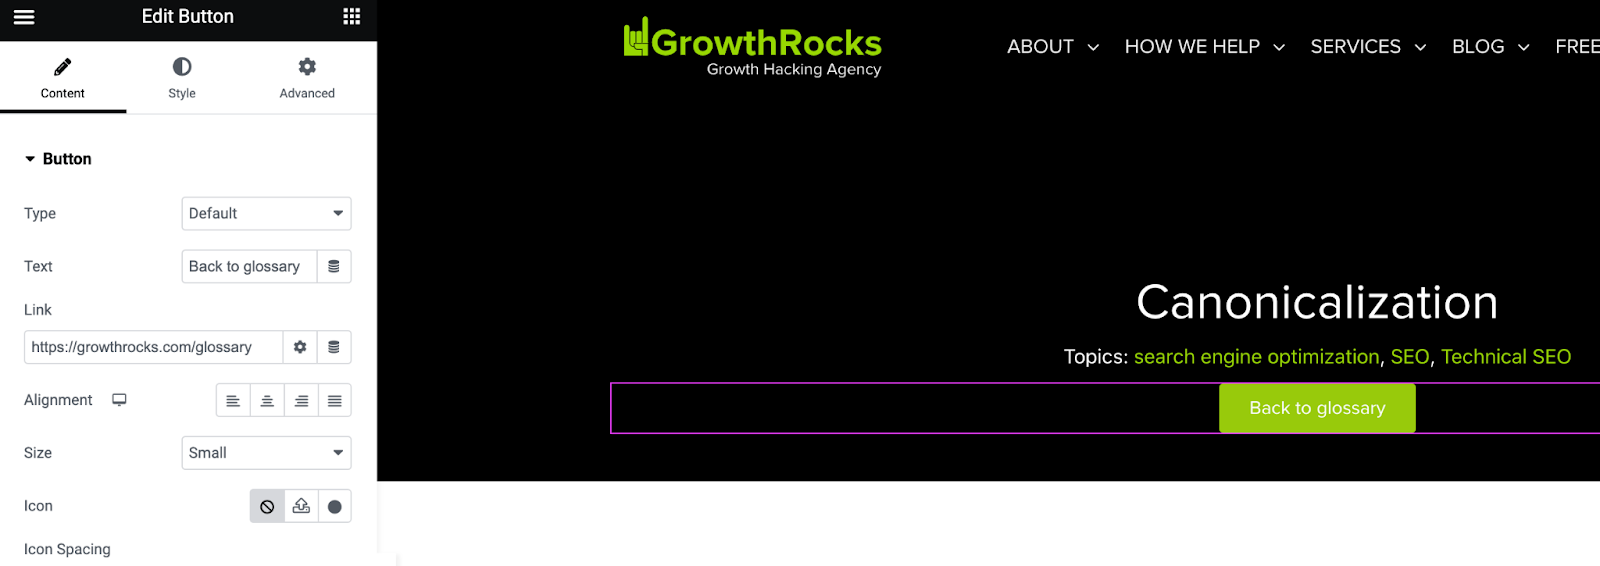
- Back-to-Glossary Button: Make it easy for users to return to the main glossary page with a back button.
- Breadcrumbs: Use Yoast or RankMath Breadcrumbs widget to help users understand where they are on the site.

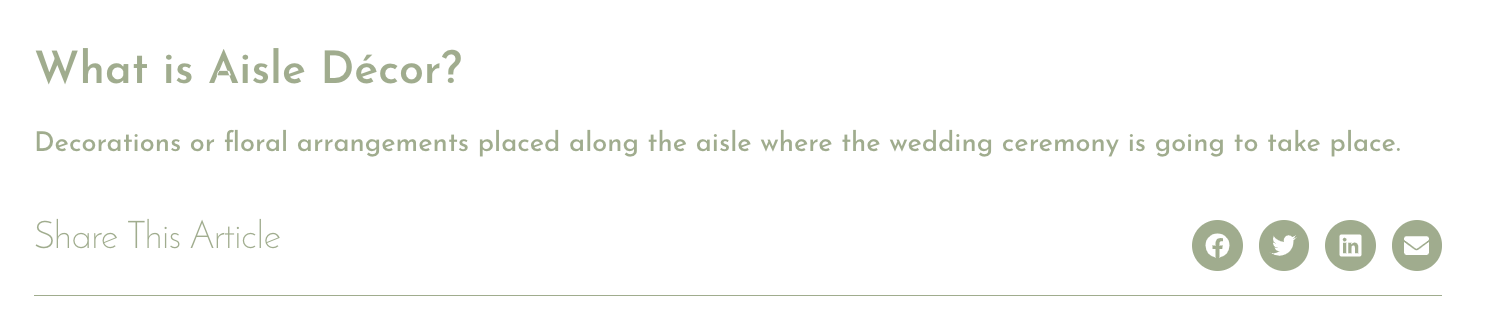
- Social Share Icons: Encourage sharing to increase visibility.
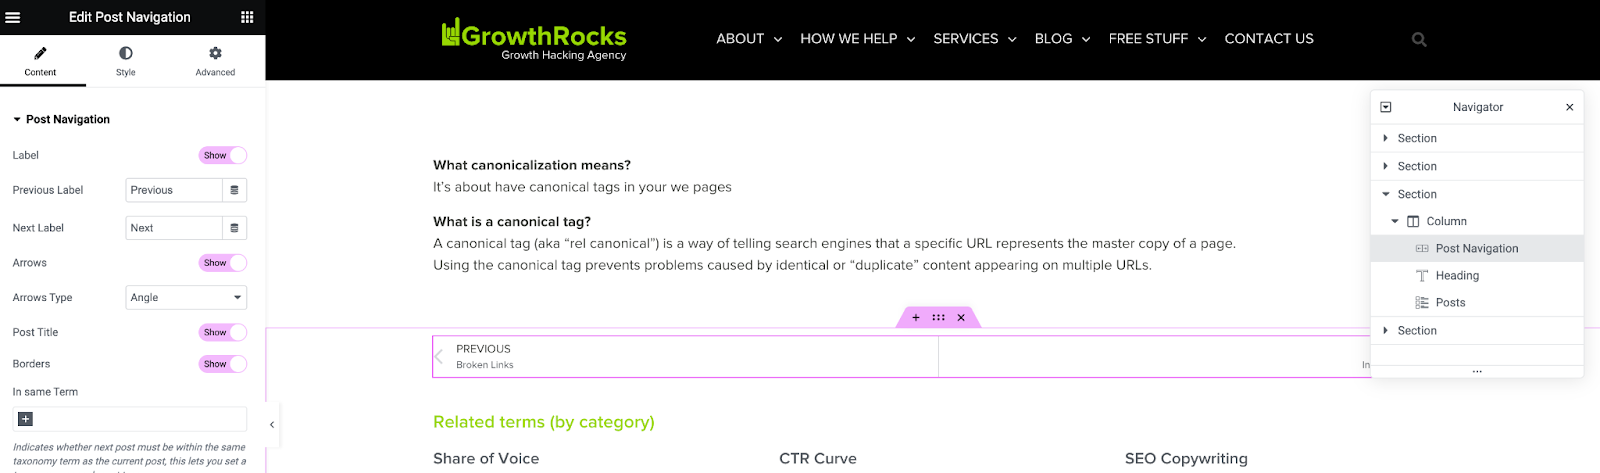
- Next/Previous Glossary Post Navigation: Use the Elementor Post Navigation widget.
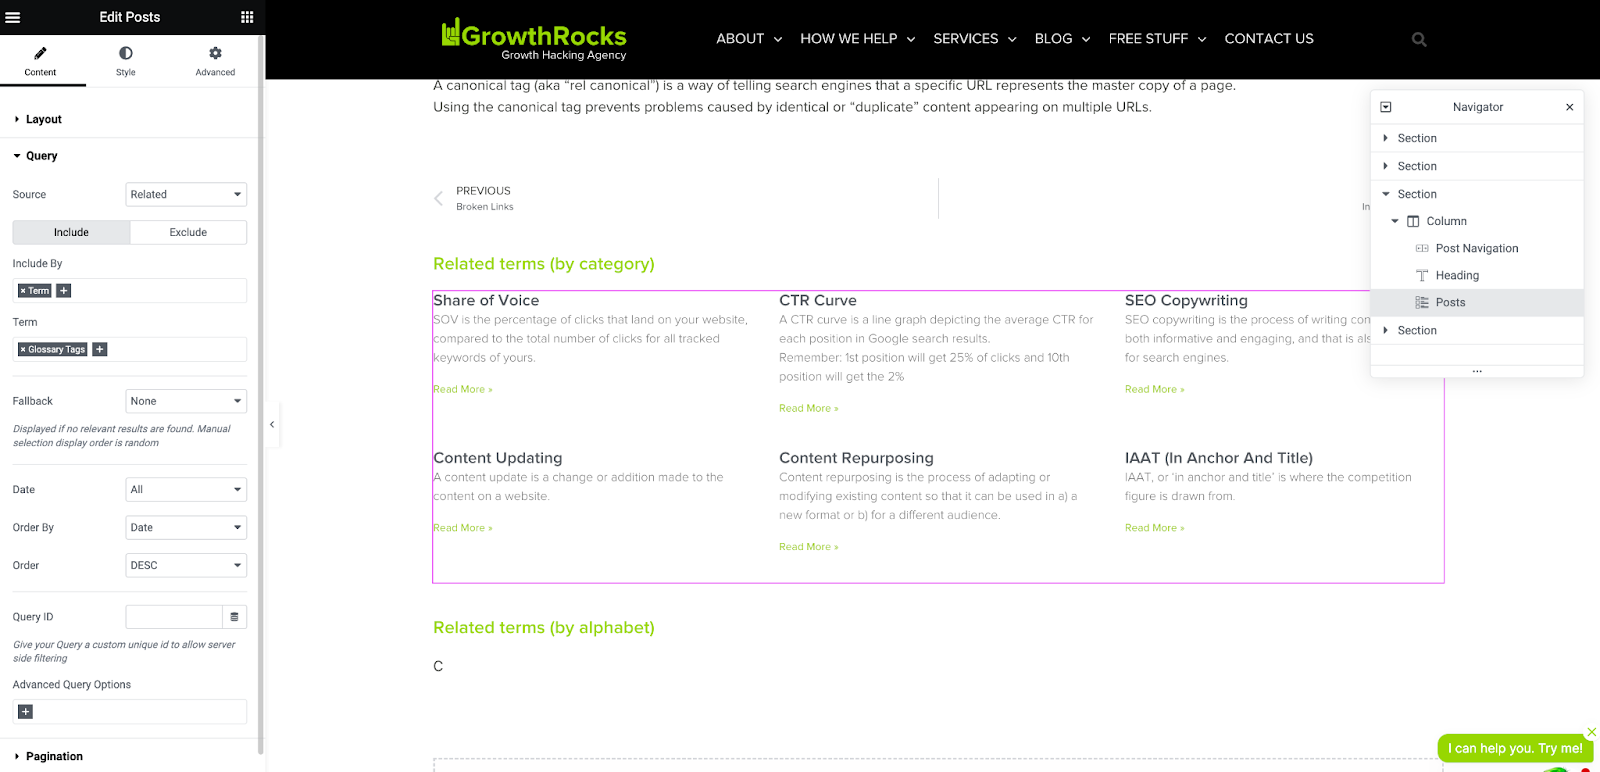
- Related Terms: Use the Elementor Post widget to show related terms by category or alphabet.
By alphabet
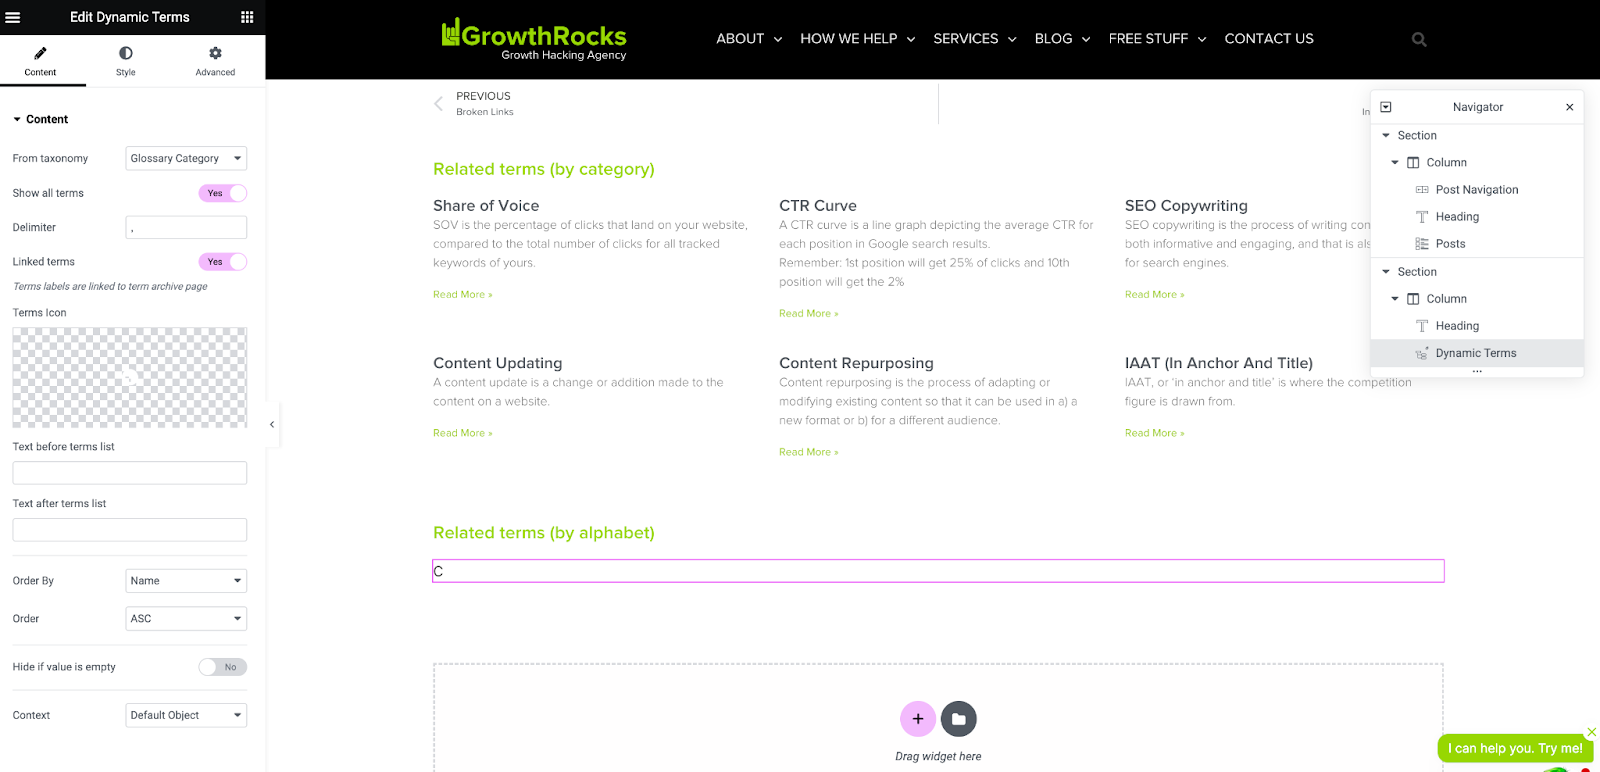
By category
Enabling Enhanced Features: Take Your Glossary to the Next Level
Now, let’s explore some advanced features to make your glossary even more effective.
FAQ Widget: Boost SEO and Engagement
Integrate an FAQ widget into your glossary entries to enhance both SEO and user engagement. The FAQ schema helps search engines understand the content structure better, often leading to rich snippets that can boost your CTR.
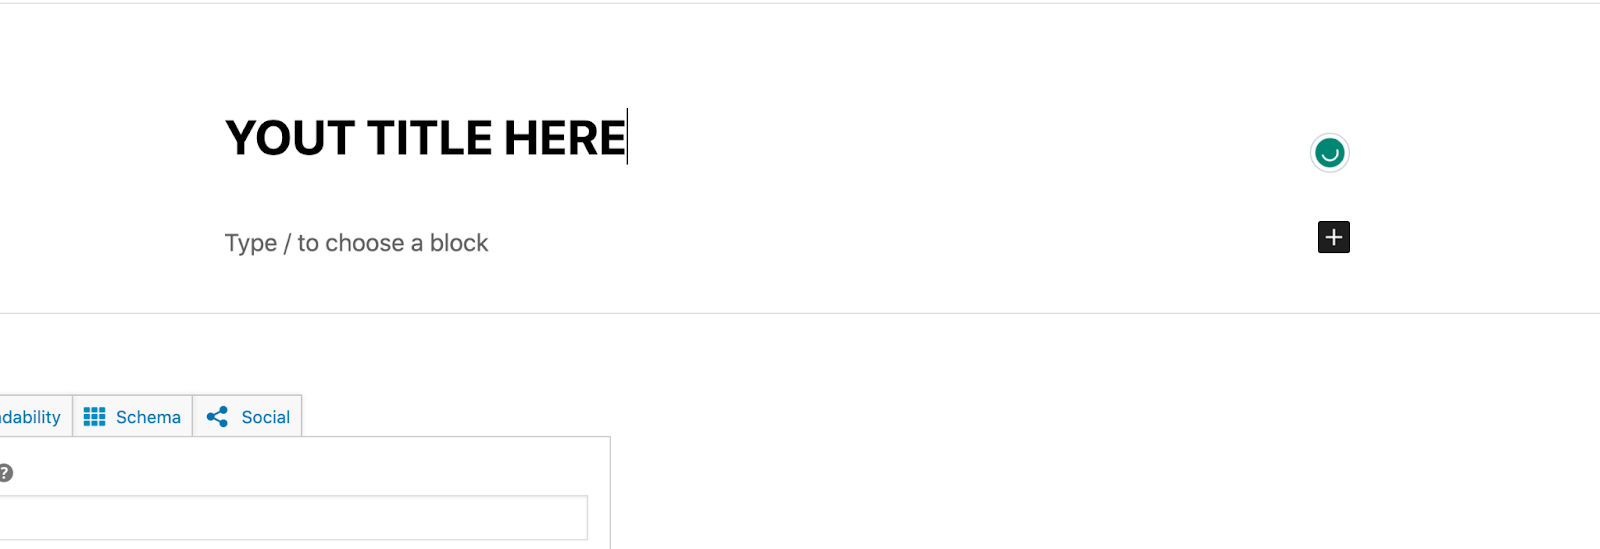
Create a new post. Visit Glossary > Add New
- Give a title
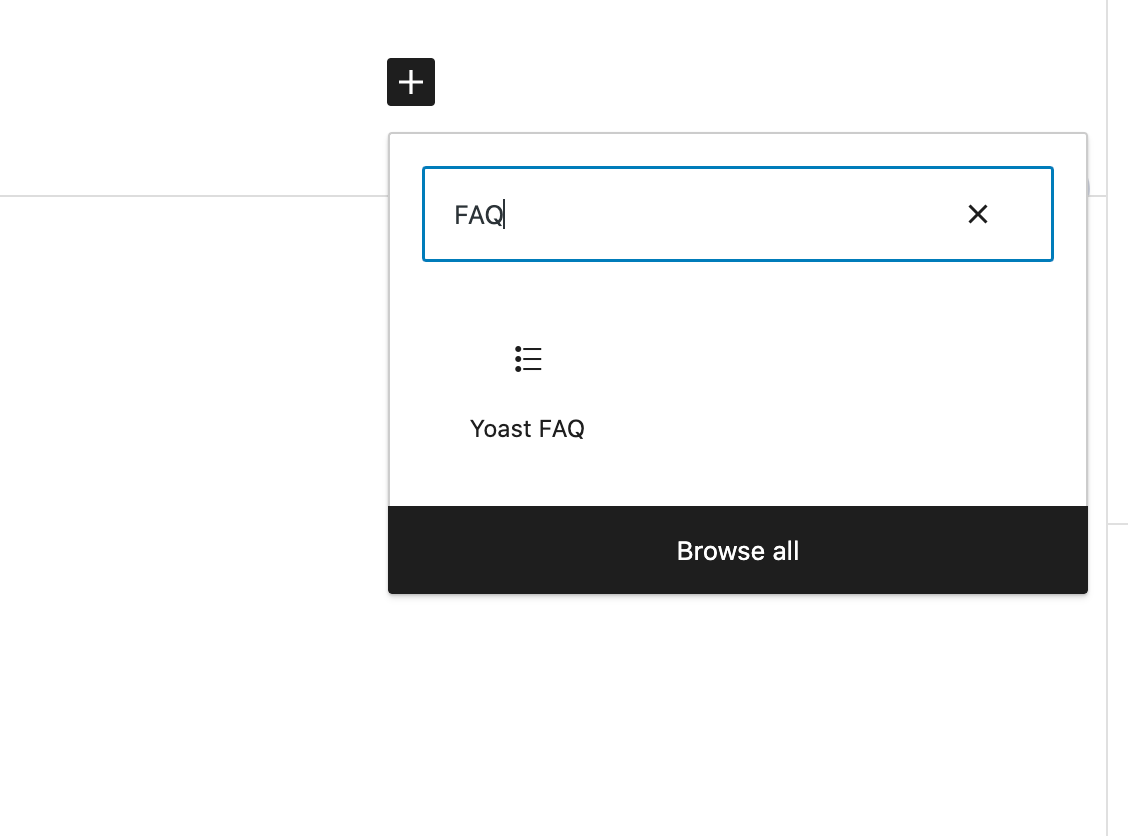
- Hit the + icon and search for FAQ (widget)
- Add your Glossary Question & Answer and publish!

Indexing and Filtering: Speed and Precision
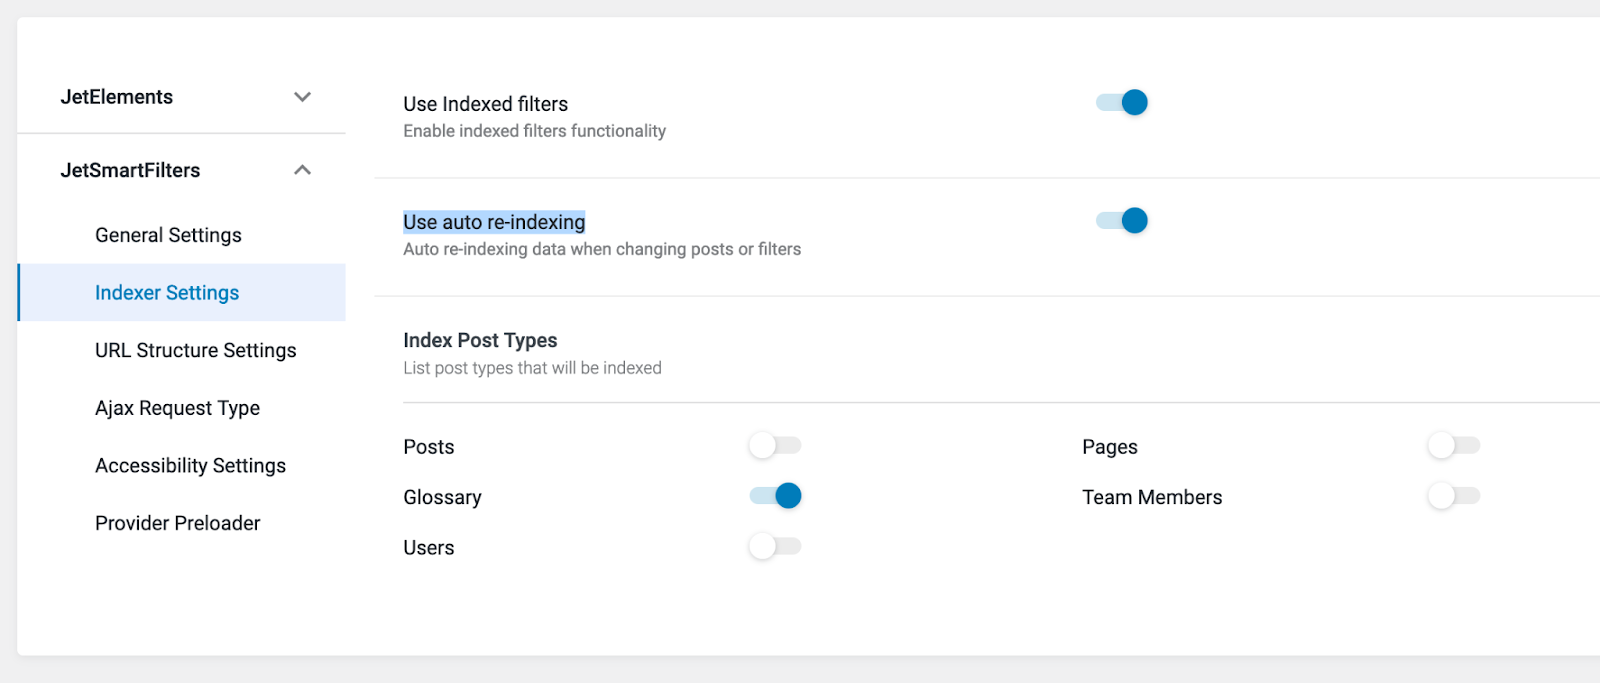
Enable the Indexer option within JetEngine to improve filter performance, especially for large glossaries. This ensures that your filtering is quick and accurate, enhancing the user experience.
- Navigate to Crocoblock > JetPlugin Settings >Indexer Settings > Enable “Use Indexed filters” and “Use auto re-indexing” for Glossary
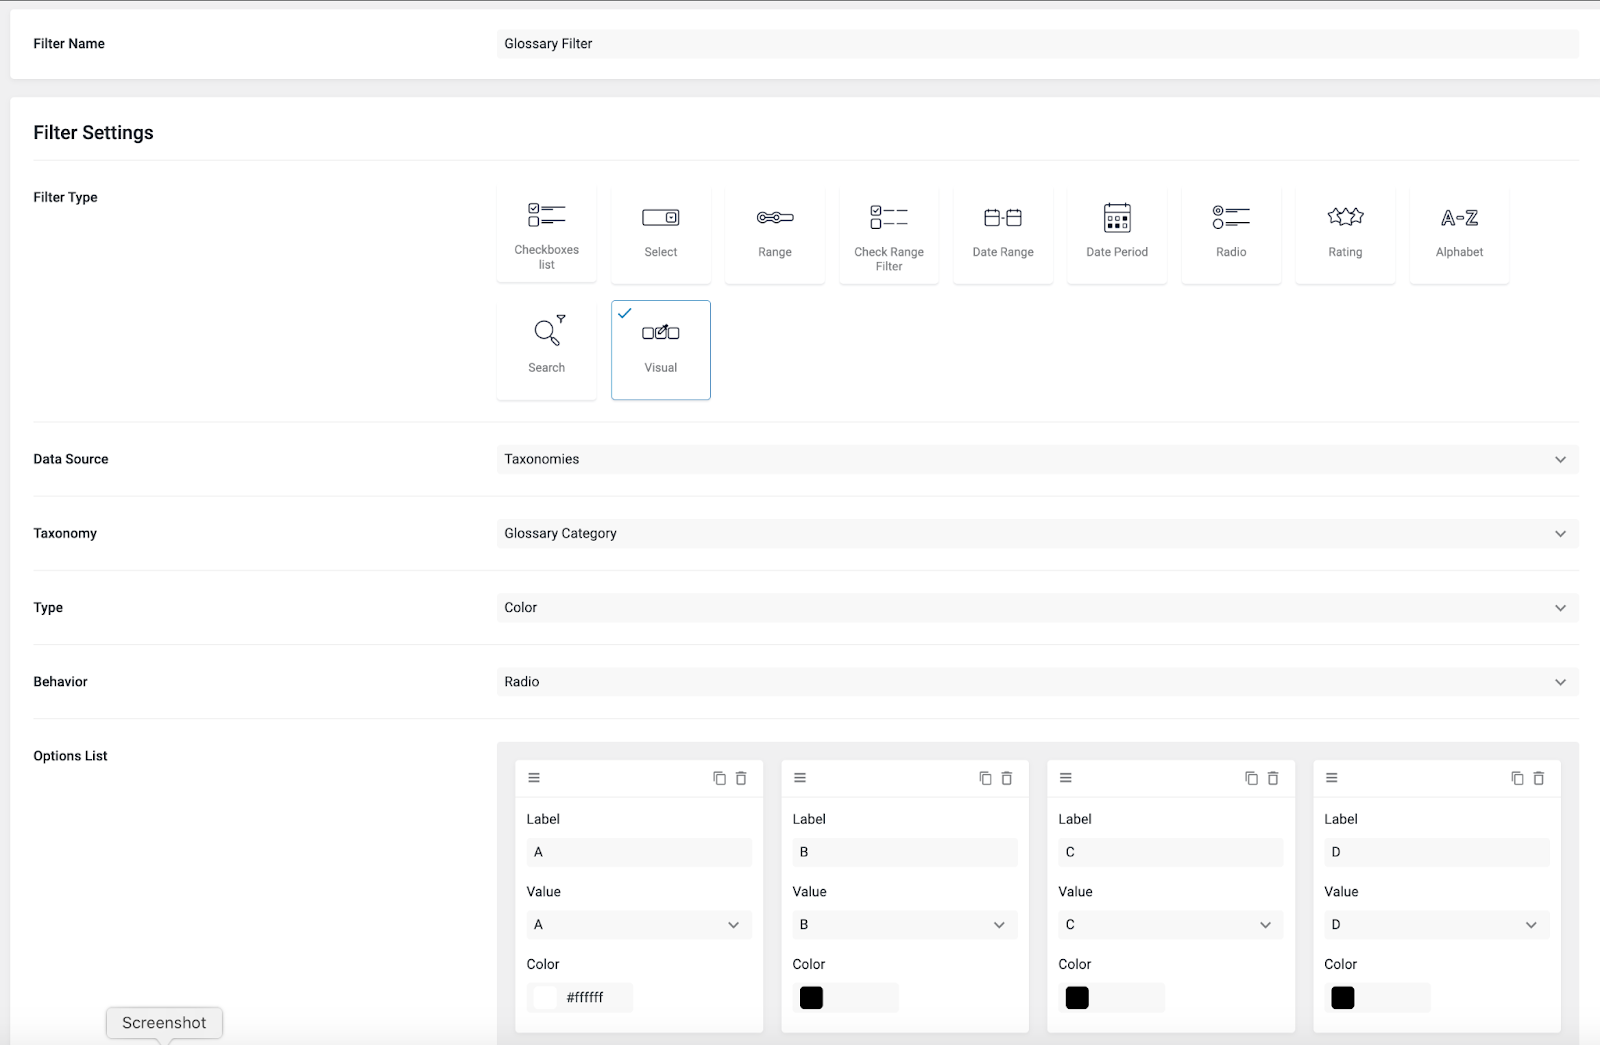
Disabling Empty Glossary Items
To maintain a polished and user-friendly appearance, disable empty glossary items so that only relevant, populated entries are visible. This can be done within the Indexer Options by enabling “Apply Indexer” and setting “If item is empty” to disable.
This option will disable the empty Glossary items/letters and change their color:
- Edit the Glossary filter widget
- Indexer Options > Enable “Apply Indexer”
- Indexer Options > Change “If item is empty” > Disable

Result

Conclusion: Your Glossary, Your Site’s Secret Weapon
A well-structured glossary is more than just a collection of definitions; it’s a powerhouse that can transform your site’s SEO, improve user experience, and position your brand as an authority in your industry. By following the steps outlined in this guide, you can create a glossary that not only boosts your site’s visibility but also enhances the overall user journey.
Ready to unlock the full potential of your WordPress site? Implement a glossary today, and watch your site soar in the rankings while keeping your visitors engaged and informed. If you need help along the way, we’re here to assist you every step of the way. Let’s get started!

Theodore has 20 years of experience running successful and profitable software products. In his free time, he coaches and consults startups. His career includes managerial posts for companies in the UK and abroad, and he has significant skills in intrapreneurship and entrepreneurship.